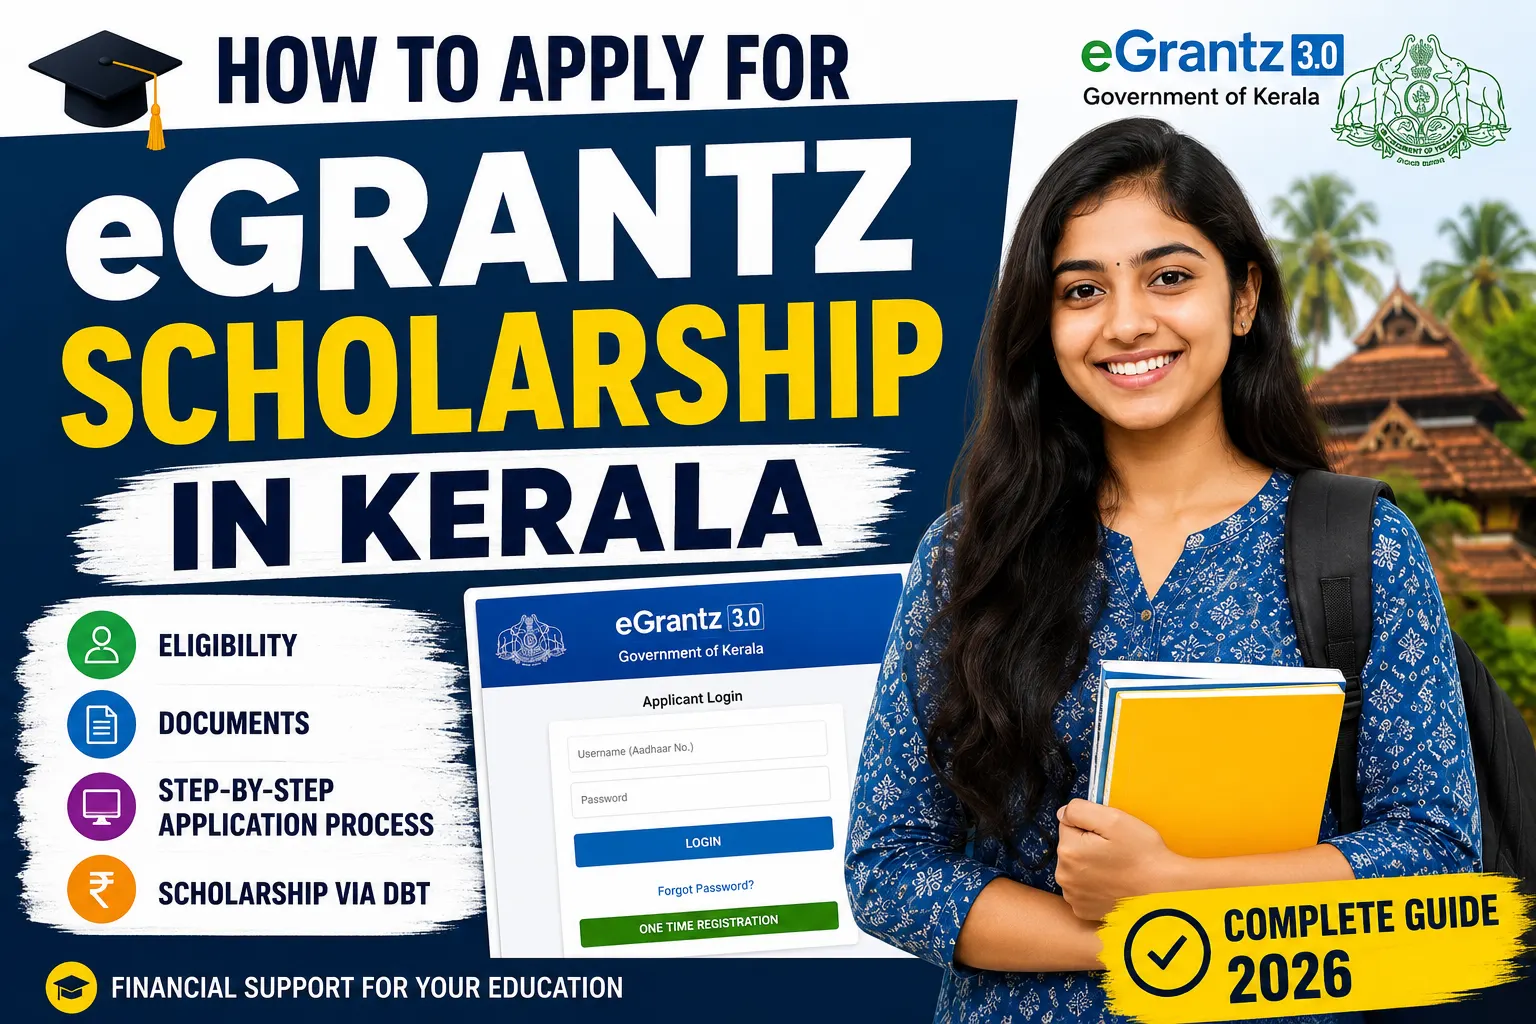
How to Apply for eGrantz Scholarship in Kerala:- For thousands of students across Kerala, the difference between continuing higher education and dropping out comes down to one thing — money. Tuition fees, hostel costs, books, transportation — it adds up fast, and for families from SC, ST, OBC, OEC, and other eligible communities, these costs can make higher education feel out of reach.
The eGrantz Scholarship system exists to bridge that gap. Managed through the Kerala Government’s eGrantz 3.0 portal, it distributes financial assistance directly to eligible students through Direct Benefit Transfer — no middlemen, no cash handling, no office queues. The money goes straight to the student’s bank account after approval.
If you’re eligible and haven’t applied yet, or if you’re helping a family member navigate the process for the first time, this guide walks through everything — registration, application, document upload, and what to do when things go wrong.
What Is the eGrantz Scholarship System?
eGrantz is the Kerala Government’s centralized online platform for distributing educational scholarships to students from eligible communities. The current version — eGrantz 3.0 — consolidates multiple scholarship schemes under a single portal, so students register once and can apply for any scheme they’re eligible for through the same account.
The scholarships are funded through a combination of central and state government schemes, covering students at various levels of higher education — degree, postgraduate, diploma, professional courses, and more. The amount varies depending on the specific scheme, the student’s category, and the course of study.
Direct Benefit Transfer is the backbone of the system — once your application is approved and verified, the scholarship amount is credited directly to your linked bank account. This makes the system faster and more transparent than older paper-based disbursement methods.
Who Can Apply?
The eGrantz portal covers students from several eligible categories:
- Scheduled Caste (SC)
- Scheduled Tribe (ST)
- Other Backward Classes (OBC)
- Other Eligible Communities (OEC)
- Other categories notified by the Government of Kerala
Beyond community category, eligibility for specific scholarship schemes also depends on:
- Family income — most schemes have an annual income ceiling
- Course of study — certain schemes cover specific types of courses
- Educational institution — the college or institution must be recognized and registered on the portal
- Academic performance — some schemes require a minimum percentage from the previous year
- Scheme-specific conditions — each scholarship has its own set of rules
This is important: being from an eligible community doesn’t automatically mean you qualify for every scheme on the portal. Read the eligibility conditions for each specific scholarship before applying. The portal lists these clearly under each scheme.
Documents You’ll Need — Get These Ready First
One of the most common reasons applications get delayed or rejected is incomplete or incorrect documentation. Have everything scanned and ready before you start:
- Aadhaar Card — mandatory for identity verification
- Aadhaar-linked mobile number — OTP verification goes here
- Passport-size photograph — recent, clear, against a plain background
- Bank account details — account number and IFSC code
- Income Certificate — must be current; check the income ceiling for your specific scheme
- Community/Caste Certificate — issued by the appropriate authority
- Admission details — course name, institution, year of study
- Educational certificates — marksheets from previous qualifying examinations
- Email ID — for portal communication and notifications
A few things worth double-checking before you upload:
Your bank account must be active and in your own name — not your parent’s account. DBT transfers require the account to match the applicant’s Aadhaar-linked details.
Your income certificate must be recent — certificates that are more than a year old are often rejected. If yours is old, get a fresh one from the Village Office or e-District portal before applying.
Your community certificate must be in the correct format issued by the authorized officer. Certificates issued at the wrong level or by unauthorized offices cause verification failures.
How to Apply for eGrantz Scholarship — Step by Step
Step 1: Go to the Official eGrantz 3.0 Portal
Open the official eGrantz 3.0 portal in your browser. Always use the official government URL — type it directly rather than clicking links from WhatsApp forwards or unofficial websites. There are third-party sites that mimic the portal and sometimes charge fees for “assistance” — the real portal is free.
Step 2: Complete One-Time Registration
New applicants need to register before they can apply for any scheme. This registration happens only once — after that, you use the same account every year.
Click One Time Registration and follow these steps:
- Enter your Aadhaar number
- Verify your mobile number with OTP
- Fill in your personal details carefully — name exactly as on Aadhaar, date of birth, address
- Create a strong password you’ll remember
- Submit the registration form
After successful registration, your login credentials are created. Store your username (usually your Aadhaar number) and password somewhere safe — you’ll need them every year.
Already registered from a previous year? Skip this step and go straight to login. Do not create a duplicate registration — it causes conflicts in the system that are difficult to resolve.
Step 3: Log In to Your Account
Sign in using your Aadhaar number as username and the password you created. If you’ve forgotten your password, use the reset option on the login page — it verifies through your registered mobile number.
Step 4: Complete Your Profile
After logging in, fill in your complete profile before selecting any scholarship scheme. This includes:
- Personal details — full name, date of birth, gender
- Address — current and permanent address
- Educational qualifications — current course, institution, year of study, previous examination details
- Institution details — your college or institution must be registered on the portal; select it from the dropdown
- Bank account details — account number and IFSC code, exactly as in your bank records
- Community information — category, certificate details
Go slowly through this section. Errors in your profile — particularly in bank account details or community information — are the most common source of application problems. Every field should match your supporting documents exactly.
Step 5: Browse and Select Your Scholarship Scheme
With your profile complete, go to the scholarship section and browse available schemes. The portal lists all schemes currently open for applications, along with their eligibility conditions, benefit amounts, and deadlines.
Read the eligibility conditions for each scheme carefully before selecting it. If you qualify for more than one scheme, check whether you can apply for multiple or whether the rules restrict you to one. Some schemes are mutually exclusive; others can be applied for simultaneously.
Step 6: Upload Your Documents
Upload scanned copies of all required documents for the selected scheme. Before uploading:
- Make sure every document is clearly readable — no blurry images, no cut edges, no shadows across important text
- Check that file formats and sizes match what the portal specifies — common rejection reasons include oversized files or wrong formats
- Verify that the information in your documents matches your application exactly — a name spelled differently on your certificate than in your profile will cause a mismatch
If you’re scanning with a smartphone, use a document scanning app rather than a regular camera for better clarity and automatic edge detection.
Step 7: Review Everything and Submit
Before hitting submit, go through your entire application one more time:
- Is every field filled in correctly?
- Do your documents match the information in your profile?
- Is your bank account number and IFSC correct?
- Have you uploaded all required documents?
- Is the deadline still open?
Once satisfied, submit the application. Save or print the acknowledgement receipt immediately — it contains your application number, which you’ll need for tracking and for any follow-up with your institution or the portal.
What Happens After You Submit
Submission is not the end of the process — it’s the beginning of verification. Here’s what typically happens next:
Institution Verification
Your application goes to your college or institution for verification. The institution confirms your enrollment, course details, and other academic information. This step can take time depending on how quickly your institution processes applications — follow up with your college’s scholarship coordinator if it seems stuck here.
Department Verification
After institutional verification, the application moves to the relevant government department for review of community certificate, income details, and other scheme-specific conditions.
Approval and Disbursement
Once all verification stages are complete and the application is approved, the scholarship amount is transferred directly to your bank account through DBT.
You can track where your application is at each stage by logging into your eGrantz account.
Tracking Your Application Status
Log into your eGrantz account and check the dashboard for:
- Current application status
- Which verification stage you’re at
- Any documents or information requested
- Payment status and transaction details
If your application has been with your institution for an unusually long time without movement, visit the scholarship coordinator at your college and ask them to process it. Delays at the institutional level are common and often just need a reminder.
Why Applications Get Rejected — And How to Avoid Each One
Incorrect Aadhaar Details
Name or date of birth that doesn’t exactly match your Aadhaar causes immediate verification failure. Enter everything exactly as it appears on your Aadhaar card.
Wrong Bank Account Number or IFSC
One wrong digit means the DBT transfer fails. Cross-check your account number against your passbook or bank statement — not from memory.
Outdated Income Certificate
An income certificate that’s more than a year old is typically rejected. Get a current one before applying.
Unclear Document Uploads
Blurry, dark, or partially visible documents fail verification. Rescan in good lighting if needed.
Missing Application Deadline
eGrantz scholarships have fixed application windows. Missing the deadline means waiting until the next cycle — which could mean a full academic year. Check the portal’s notice board regularly and apply as early as possible after applications open.
Incorrect Community Certificate
Community certificates must be issued by the authorized officer at the correct administrative level. Certificates from unauthorized sources or in incorrect formats are rejected.
Bank Account Not in Applicant’s Name
DBT transfers require the account to be in the student’s own name, linked to their Aadhaar. A parent’s account won’t work.
A Quick Checklist Before You Submit
Use this before clicking submit:
- Aadhaar number entered correctly
- Name matches Aadhaar exactly
- Bank account number verified against passbook
- IFSC code correct
- Income certificate is current (within one year)
- Community certificate is in correct format
- All documents are clearly readable
- File sizes within portal limits
- Institution selected correctly from dropdown
- Acknowledgement receipt saved after submission
Frequently Asked Questions
Is Aadhaar mandatory for eGrantz?
Yes. Aadhaar authentication is required for registration and identity verification. Without a valid Aadhaar, you cannot register or apply.
Can I apply if my mobile number isn’t linked to Aadhaar?
No — OTP verification during registration goes to your Aadhaar-linked number. Get your number linked to Aadhaar at an enrolment centre first, then come back to register.
Can I edit my application after submitting?
It depends on which stage the application is at. If your institution hasn’t processed it yet, editing may be possible through your dashboard. Once institutional verification begins, changes become restricted. Contact your institution’s scholarship coordinator immediately if you spot an error after submission.
My institution isn’t showing in the dropdown — what do I do?
Your institution may not be registered on the eGrantz portal. Contact your college administration and ask them to register the institution. This is a common issue for newer institutions or newly affiliated colleges.
Can I apply for multiple scholarship schemes simultaneously?
Some schemes allow simultaneous applications; others don’t. Read the terms of each scheme carefully before applying for more than one.
How long does disbursement take after approval?
It varies depending on the scheme, verification workload, and DBT processing time. Typically several weeks to a few months after final approval. Track your status on the portal.
What if my scholarship amount is wrong?
Contact the relevant scholarship department through the portal or visit your nearest SC/ST/OBC Development Corporation office with your application details and bank statement.
I applied last year — do I need to register again?
No. Your One-Time Registration remains valid. Log in with your existing credentials and apply for the current year’s schemes.
Tips for a Smooth Application
Apply early. Don’t wait until the deadline is close. Server load on government portals increases as deadlines approach, and technical issues become more common. Applying in the first few weeks after the portal opens gives you time to fix any problems before the deadline.
Keep digital copies of everything. Store all your uploaded documents in a folder on your phone or cloud storage. If you need to reapply or resolve a dispute, having everything organized saves significant time.
Follow up with your institution. The most common delay in eGrantz applications isn’t at the government level — it’s at the institutional verification stage. Visit your college’s scholarship coordinator or administrative office periodically to confirm your application has been processed and forwarded.
Check the portal’s notice board regularly. New schemes are announced throughout the year, and deadlines are posted there. Missing an announcement means missing an opportunity.
Don’t use agents or middlemen. The eGrantz portal is designed to be used directly by students. Anyone offering to “process” your application for a fee is charging you for something you can do yourself for free.
Bottom Line
The eGrantz Scholarship has helped thousands of Kerala students stay in education who might otherwise have had to stop. The system is well-designed and genuinely functional — when applications are submitted correctly with accurate documents and matching details, disbursements happen.
Most of the problems students face are avoidable: a wrong bank account digit, an outdated income certificate, a blurry document upload, a missed deadline. Going through the application carefully and double-checking every field before submitting is really all it takes to give your application the best chance of moving through smoothly.
Register on the official eGrantz 3.0 portal, apply before the deadline, follow up with your institution, and track your status regularly. The scholarship is there — make sure your application is in order to receive it.
Stay connected with SpotNews Kerala for more guides on scholarships, government schemes, educational resources, certificates, and public welfare programmes.